Boredom Busters
By Liz Driscoll
NC State Extension 4-H specialist
With schools and daycare centers closing, some parents are understandably asking how to make the most of the time they’ll have with their children in coming weeks. Here are five project ideas to calm any boredom breakouts. Best of all, they all involve materials that you may already have in your kitchen or craft drawer or that you can find just outside your front door.
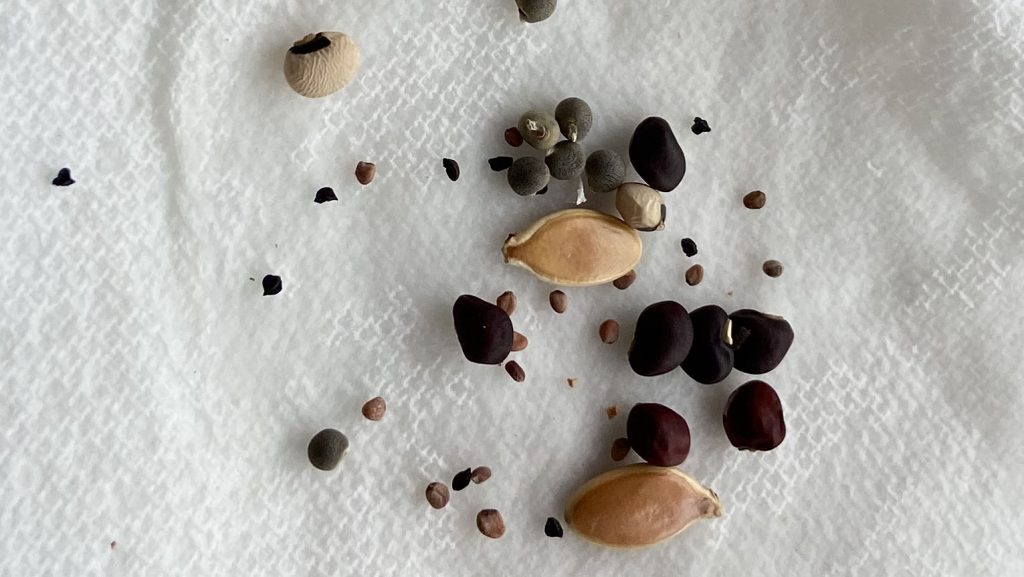
Splendiferous Seeds
Sprouting seeds is like watching magic unfold in slow motion; all you need is a seed, a little water and sprinkle on the time (not thyme). The seeds swell into plump little packages and, voila, a root explodes out, followed by a shoot.
Don’t have packets of seeds around your house? No worries. Just look around: Do you have dried beans in your pantry? Or could you harvest a few from fruits or vegetables you have on hand? If not, what about stepping outside to see if you can find seeds in flowers or weeds?
Start by taking a damp paper towel and fold it in half. Put your seeds on the paper towel and slide them into a plastic baggie. Check every day to see how the seed changes. How long does it take for a seed to germinate? Do they all germinate at the same time?
Once the seeds have sprouted leaves, gently tuck them into a pot filled with soil and watch them grow. (Don’t have a pot? Check your recycling bin. Are there plastic containers you could decorate? They will work just fine!)
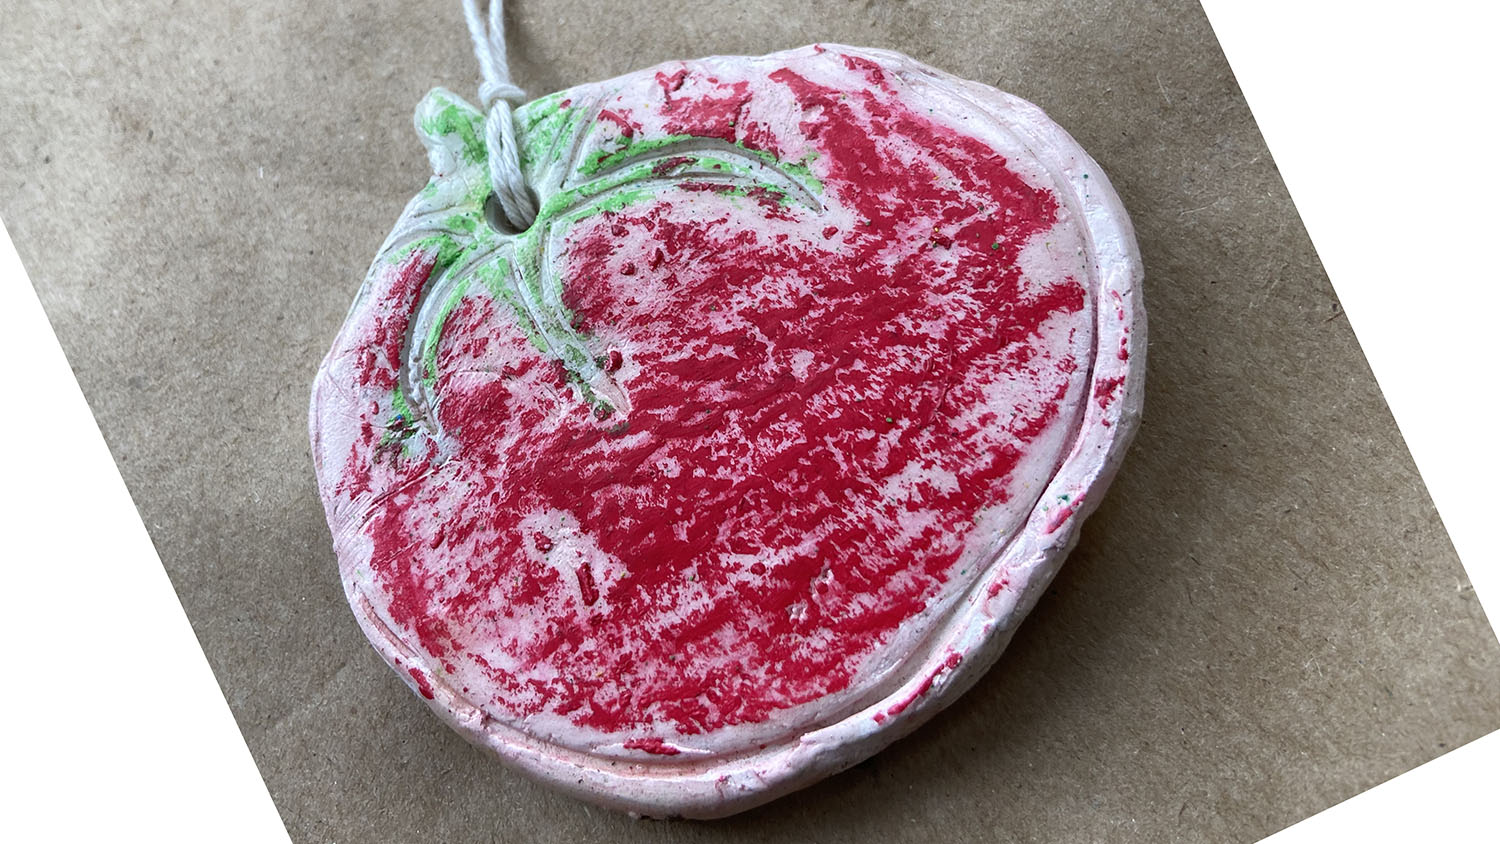
Forever Veggies
Forever capture your love for all things vegetative by crafting salt dough ornaments shaped like your favorite flower or fruit. All you need is 4 cups of flour mixed with 1 cup of salt. While continuously stirring, slowly pour in 1½ cups of warm water to the flour and salt mixture.
Once the dough is too hard to stir with a spoon, knead it with your hands until it is smooth and pliable. Take a handful of dough and put it on a piece of parchment paper and then place another piece of parchment paper on top. Roll out the dough very thin, about ⅛” thick. Remove the top piece of parchment and with cookie cutters or a knife, cut out your ornament shapes. Be sure to put a hole in the top so you can attach a hanger.
Move the parchment paper onto a cookie sheet and bake in a preheated oven at 300 degrees F for about an hour or until hard. Once the ornaments are cool, decorate using crayons or paint.

Plants Worth Dye-ing For
Rummage around your refrigerator and pantry and you could find ingredients that make wonderful dyes. All the leftover onion skins in the bottom of the bag? Turns out they create a soft yellow hue, perfect for dying a bookmark or boiled egg. Leftover carrot tops develop into a quiet yellow-green dye, and dried, ground turmeric has a vibrant deep yellow color as a dye.
This activity is a simple start to learning about plant dyes. There are many methods for natural plant dyes, but for a quick kid activity and optimal safety, simple water baths are recommended. The color might not last as long, but it is a fun project to begin to understand plant pigments.
To start, you will need supplies: a stainless steel pot, wooden spoon and plants to use as dyes. Easy-to-find materials include onion skins (try red and yellow onions), carrot tops, turmeric (try fresh and dried), beets (tops and bottoms), annatto (seeds or ground), pomegranate (outer skin or whole fruit), and blackberries (Ask first — they might be for a snack!).
If you have access to these outdoor plants, try juniper, English ivy, barberry, walnut (leaves and husks), mahonia, daffodil flowers and dandelion.
Bring a pot of water to a gentle boil, and add your first plant dye. Generally, the more of a dye material you add, the deeper the dye color.
Let the plants simmer in the water for about an hour. Add the material you would like to dye — a boiled egg, an old T-shirt, a wool scarf — and let it steep in the dye for 30 minutes to an hour.
You can experiment by adding different plants together, using different materials to dye (animal fibers hold dyes differently than plant fibers).
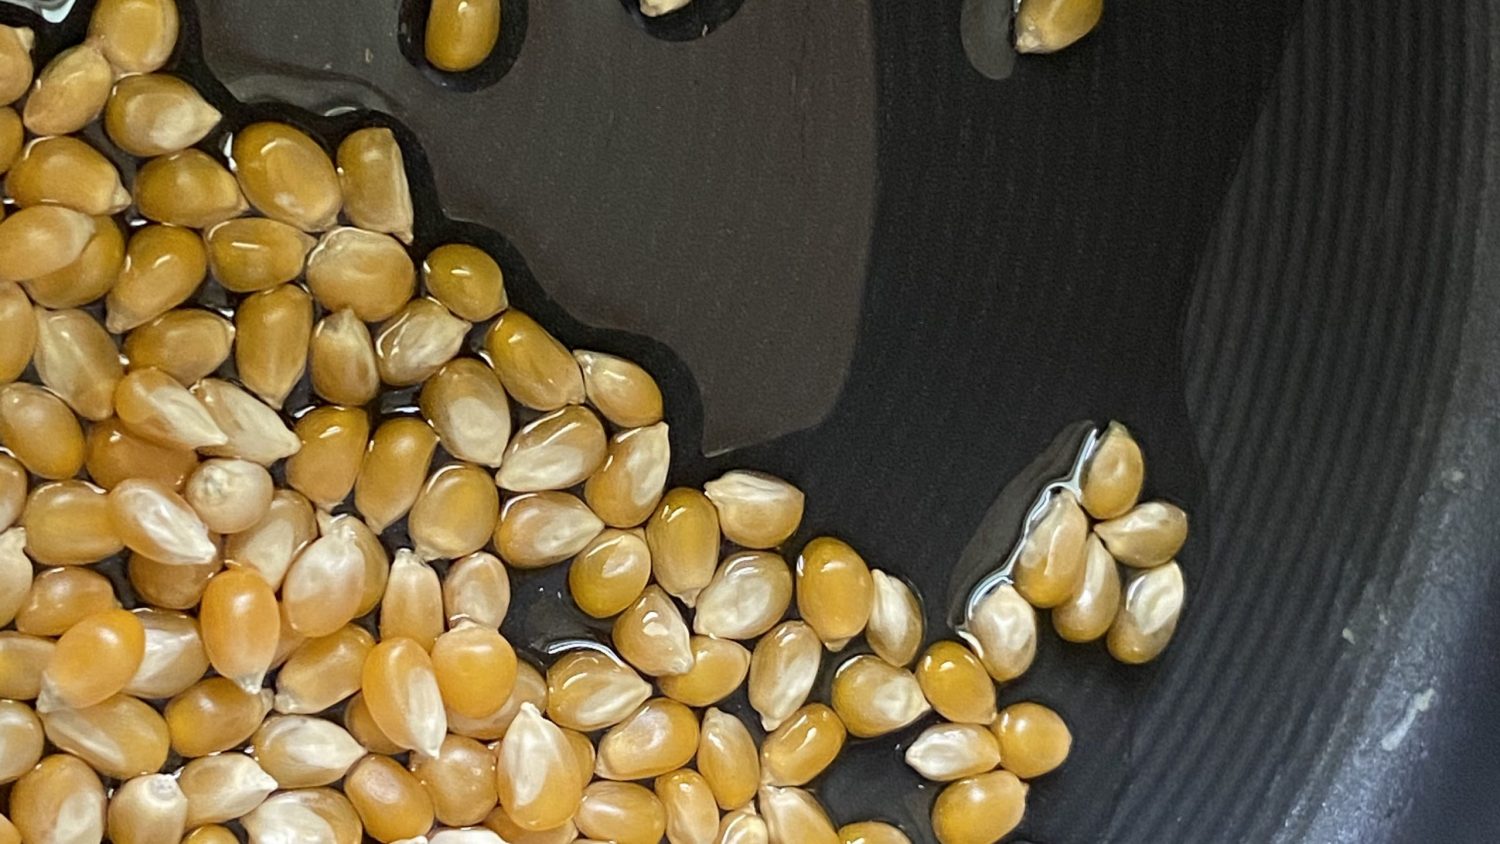
Popping Up Agricultural Wonders
Popcorn seeds are agricultural wonders. With a little heat, the water inside each kernel turns into steam, building pressure in the very hard, nonporous outer shell called the pericarp. The pressurized steam (the temperature inside the kernel reaches 355 degrees F) gelatinizes the starchy endosperm into soft, tasty popcorn. What’s an endosperm? It’s the part of the seed that stores food that a plant uses as it grows.
To cook popcorn kernels on the stove, add a tablespoon of vegetable oil to the bottom of a pot and a handful of loose popcorn kernels. Put the lid on and turn your burner to medium heat. How long does it take for the kernels to pop? Do they all pop? The popping sound comes from when the water vapor is released after the kernel has cracked.
Plain popcorn is a healthy whole grain and can be eaten as is. You can also add a dash of salt, a bit of butter and other spices (yes chili!) and herbs (oregano, please) for a delicious snack. Check out an NC State Extension recipe for parent-and-child fun in the kitchen: a savory (and healthy) popcorn-and-pretzel snack mix.
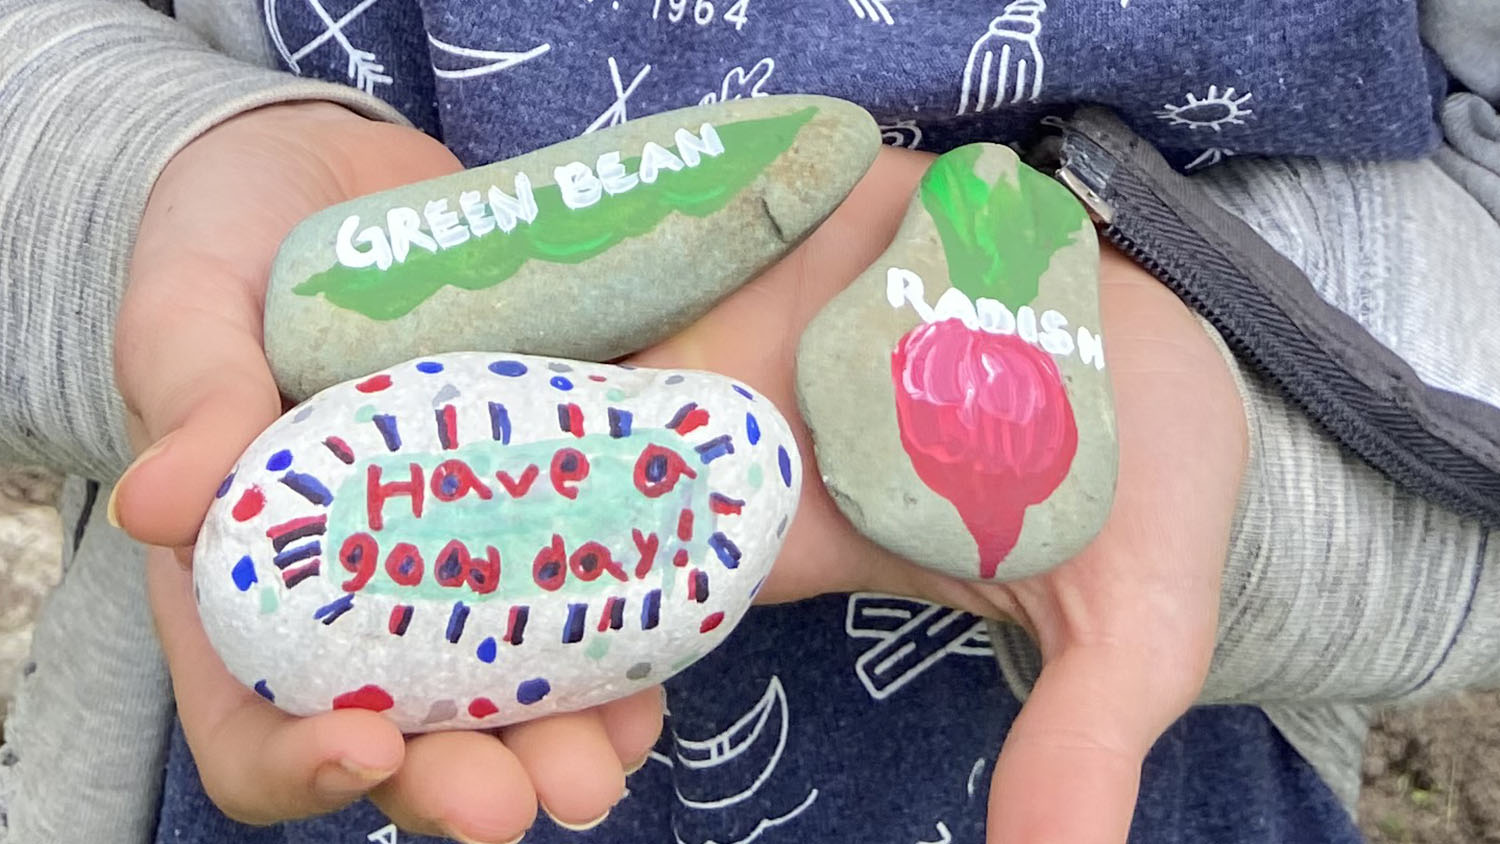
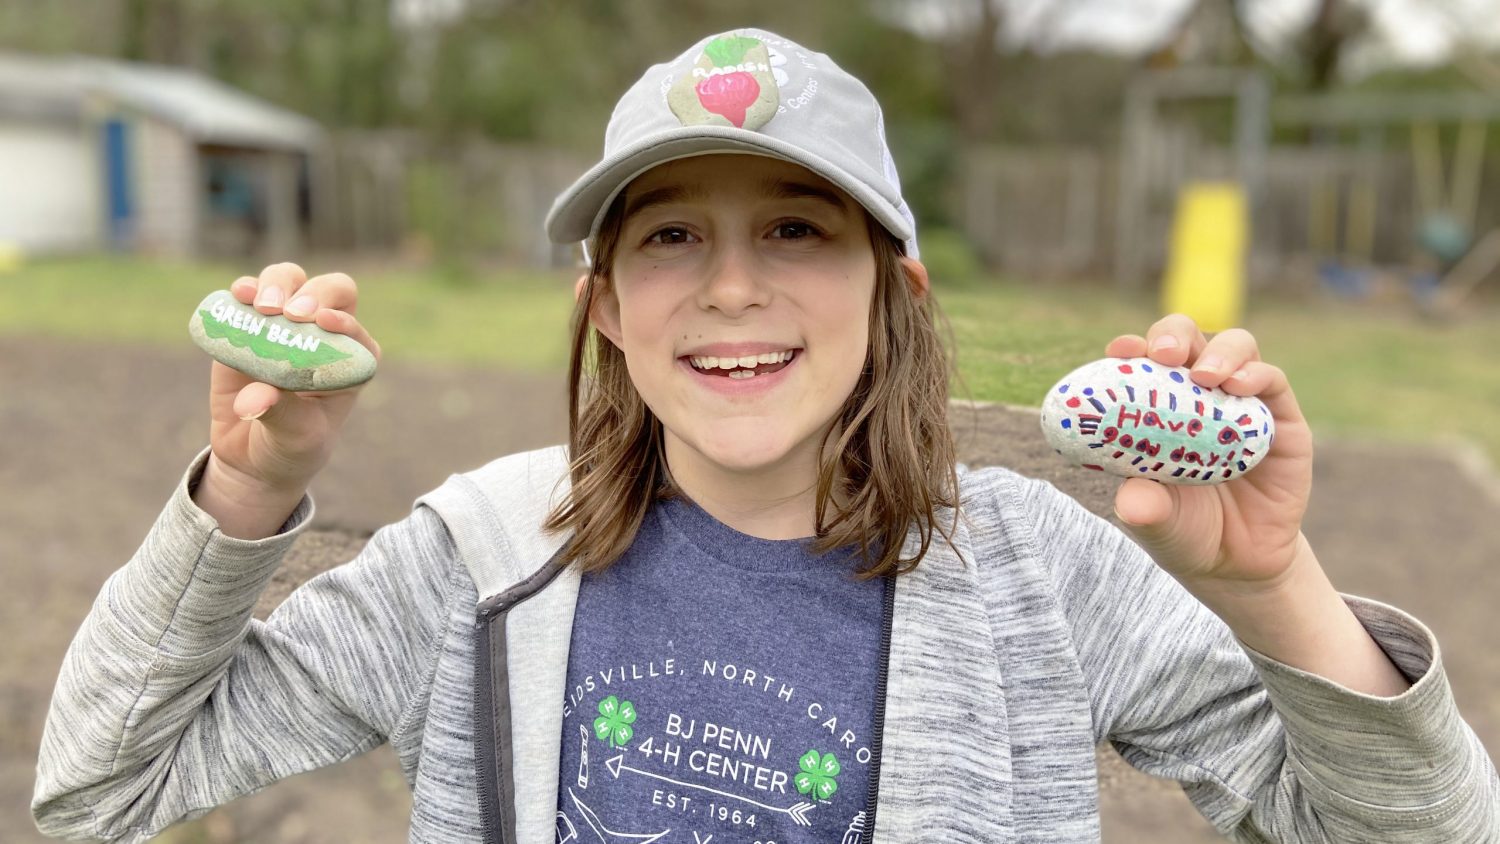
Rock On!
Do your kids have a few rocks around the house? Or are there some outside your front door? You can turn them into plant labels for the garden. And if you don’t have rocks that’ll work, old spoons, popsicle sticks, bricks, corks or soup-can lids can work just as well!
Using liquid acrylic paint, first paint a picture of the vegetable, flower or herb (or decorate however you wish).
To make it shiny and weatherproof, you could spray it with an acrylic sealer. Sealers can be found at local craft and hardware stores.
Let each rock dry, then label it with the name of the plant.
Looking for More Boredom-Busting Ideas?
4-H offers a great guide with lots of indoor and outdoor activities in healthy living, crafting and science, technology, engineering and math, and it’s available for free online. See 4-h.org/about/inspire-kids-to-do/activity-guide/
About the Author
Liz Driscoll works for NC State Extension’s 4-H program and is a specialist in the university’s departments of Horticultural Science, Crop and Soil Sciences, and Entomology and Plant Pathology. She’s also an experienced mom.
About 4-H
In 4-H, young people make new friends, develop new skills, become leaders and help shape their communities. In North Carolina, 4-H is delivered by N.C. Cooperative Extension, a statewide outreach partnership between NC State University, N.C. A&T State University, the U.S. Department of Agriculture’s National Institute of Food and Agriculture and 101 local governments statewide.
- Categories: